
When it comes to the care and maintenance of your vehicle, one of the most common issues you will encounter is sun-damaged car paint. The sun’s powerful UV rays, combined with other environmental factors, can wreak havoc on your car’s exterior, causing the paint to fade, peel, and deteriorate over time.
However, fear not! In this comprehensive guide, we will walk you through the process of repairing sun-damaged car paint and restoring your vehicle’s luster and shine.
How to Repair Sun-Damaged Car Paint?
Understanding Sun Damage
Before diving into the repair process, it’s essential to understand how sun damage affects your car’s paint. Sun damage primarily occurs due to prolonged exposure to ultraviolet (UV) rays, which can lead to several issues:
- Fading: The most common sign of sun damage is fading paint. UV rays break down the pigments in your car’s paint, causing it to lose its vibrant color.
- Oxidation: Over time, UV exposure can cause oxidation of the paint surface. This results in a chalky appearance and a loss of the paint’s smooth texture.
- Peeling and Cracking: Excessive sun exposure can make the paint brittle, leading to peeling and cracking. This can be especially problematic in areas with high sun intensity.
- Clear Coat Damage: The sun can also damage the clear coat, which acts as a protective layer over the paint. This can lead to a dull and hazy appearance.
Now that you understand the effects of sun damage let’s explore the steps you can take to repair your car’s paint and restore its former glory.
Materials and Tools You Will Need
Before you begin the repair process, gather the necessary materials and tools. Here’s a list of what you will need:
- Car Wash Soap: Choose a high-quality car wash soap to clean your vehicle thoroughly.
- Microfiber Towels: These are gentle on your car’s paint and won’t scratch the surface.
- Clay Bar: A clay bar helps remove contaminants from the paint surface.
- Polishing Compound: Use a good-quality polishing compound to restore shine and remove light oxidation.
- Polisher/Buffer: An electric polisher or buffer can make the job more efficient, but you can also do it by hand.
- Rubbing Compound: For deeper scratches and severe damage, a rubbing compound is essential.
- Wax or Sealant: Ensure that your newly restored paint is protected by applying wax or sealant.
- Microfiber Applicator Pads: These are ideal for applying wax or sealant.
- Paint Touch-Up Kit: If you have areas with chipped or peeling paint, a touch-up kit matching your car’s color is necessary.
- Sandpaper: For sanding damaged areas before touch-up.
- Masking Tape: To protect surrounding areas from overspray.
- Safety Gear: Wear gloves and eye protection when working with chemicals.
Now that you have all the necessary tools and materials, let’s move on to the step-by-step process of repairing sun-damaged car paint.
Step-by-Step Guide to Repairing Sun-Damaged Car Paint
Step 1: Prepare Your Work Area
Before you begin, choose a well-ventilated and shaded area to work on your car. Working in direct sunlight can cause cleaning and polishing products to dry too quickly, making the process more challenging.
Step 2: Wash Your Car
Start by washing your car thoroughly with car wash soap and a bucket of water. Use a microfiber wash mitt or sponge to gently remove dirt and debris. A microfiber towel should be used to wipe the car down after it has been rinsed.
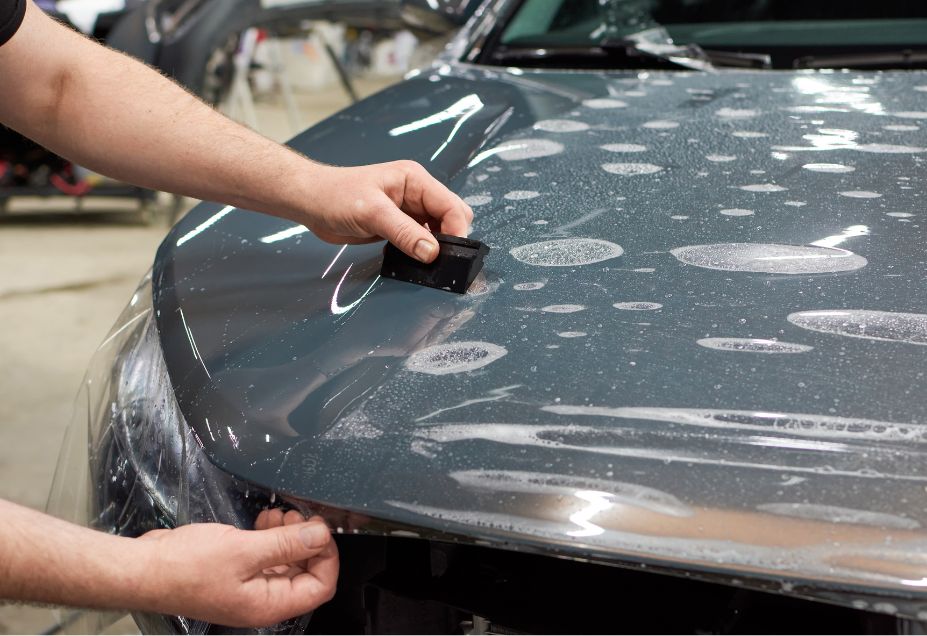
Step 3: Clay Bar Treatment
When you clean the paint surface with a clay bar, you will be able to remove embedded contaminants. To use a clay bar:
- Spray a clay lubricant onto a small section of your car’s paint.
- After the area has been lubricated, rub the clay bar back and forth gently. As you use the bar, you will feel it pick up contaminants. The clay bar should be folded and kneaded as necessary to reveal a clean surface.
- Use a microfiber towel to wipe the area as clean as possible.
Repeat this process for the entire car, focusing on areas with visible contamination.
Step 4: Assess the Damage
Inspect your car’s paint carefully. Identify areas with fading, oxidation, peeling, or deep scratches. This assessment will help you determine the level of repair needed.
Step 5: Polishing
For mild sun damage and oxidation, a polishing compound can work wonders:
- Apply a small amount of polishing compound to a foam or microfiber applicator pad.
- Work the compound into the affected area using a circular motion. Use a light pressure to moderate pressure on the area.
- Continue polishing until you see an improvement in the paint’s appearance. It is recommended that you repeat the process in case it is necessary.
Step 6: Rubbing Compound (For Deeper Damage)
If your car’s paint has deep scratches or more severe sun damage, you may need to use a rubbing compound:
- Apply a little rubbing compound with a clean applicator pad.
- To apply the compound, apply moderate pressure in a circular motion to the affected area.
- Continue rubbing until the damage begins to diminish. Be patient, as this may take some time.
- With a clean microfiber towel, wipe away the excess compound from the surface.
Step 7: Sanding (For Deep Scratches)
For deep scratches that the rubbing compound couldn’t fully repair, you may need to use sandpaper:
- Choose a fine-grit sandpaper (around 2000-3000 grit).
- Wet the damaged area and the sandpaper with water.
- Gently sand the area in a back-and-forth motion until the scratch becomes less noticeable.
- Once satisfied, clean the area and move on to the next step.
Step 8: Apply Touch-Up Paint
If there are areas with chipped or peeling paint, use a paint touch-up kit that matches your car’s color. Make sure you follow the instructions provided by the manufacturer when applying the product.
Step 9: Protect with Wax or Sealant
Now that your car’s paint is repaired and looking better, it is essential to protect it from future sun damage:
- Ensure that the entire vehicle is waxed or sealed. Ensure that the applicator pad is clean, and follow the instructions that come with the product.
- The wax or sealant should be allowed to dry before being polished off with a microfiber towel that is clean and dry.
Step 10: Final Inspection
Once you have completed all the necessary repairs and protection steps, step back and inspect your car’s paint. It should look significantly improved compared to its initial sun-damaged state.
Tips and Additional Considerations
Here are some additional tips and considerations to keep in mind during the car paint repair process:
- Work Carefully: Take your time during each step of the process. Rushing can lead to subpar results.
- Protection: Wear gloves and eye protection when working with chemicals and sandpaper.
- Paint Matching: Ensure that the touch-up paint matches your car’s color precisely to avoid noticeable differences.
- Regular Maintenance: To prevent future sun damage, wash and wax your car regularly and park it in the shade when possible.
- Professional Help: If you’re uncomfortable with any step of the process or if the damage is extensive, consider consulting a professional auto body shop.
Conclusion
Repairing sun-damaged car paint is a rewarding process that can breathe new life into your vehicle’s appearance. By following this comprehensive guide and being patient and diligent, you can restore your car’s paint and protect it from further damage.
Remember, proper care and maintenance will keep your car looking its best for years to come, even in the face of the sun’s harsh rays.
Recent Comments